 Skip to main content
How to Repair a Hole in a Concrete Foundation Wall
Small holes in a concrete foundation wall are a DIY patch with hydraulic cement. Bigger holes need a different approach. Here is how to handle both, Shreveport moisture and all.
How to repair a hole in a concrete wall? For small holes, clean out the loose material, dampen the surface, and pack in hydraulic cement or patching mortar, building it up in layers. Big holes or holes with water pouring through need a pro, because the patch has to hold back real pressure.
Holes show up for ordinary reasons: a rusted-out form tie, a spot where concrete never consolidated during the pour, a removed pipe, or a chunk knocked loose years ago. Around Shreveport the extra twist is moisture — wet springs and high water tables mean a wall hole is rarely just cosmetic for long. Water finds it, widens it, and invites mold and termites.
How to Repair a Hole in a Concrete Wall: The Short Version
For a small hole — a couple of inches across, not leaking — the job takes an afternoon. Chip to solid material, undercut the edges, brush out dust, dampen, and pack hydraulic cement or patching mortar in firmly. Smooth flush, keep damp while curing, seal once cured.
Two mistakes ruin patches: skipping prep and using the wrong material. Patching over crumbly concrete is like painting over rust — the bond fails within a season or two. And regular concrete mix shrinks as it cures, opening a hairline gap water will exploit. Use materials made for patching.
Small Holes vs. Large Holes: Know What You Are Patching
Size and behavior decide whether this is a Saturday project or a phone call:
- Small holes (under 2 inches): old form-tie holes, small pop-outs, abandoned anchor holes. Classic DIY with hydraulic cement.
- Medium holes (2 to 6 inches): spalled sections, removed pipe penetrations, honeycombed spots from a bad pour. DIY-able if the wall is sound — build the patch in layers.
- Large holes (over 6 inches) or through the full wall: pro territory. The repair needs formwork, consolidation, sometimes reinforcement — and a hole this big often signals structural trouble.
- Any hole with active water flow: water under pressure defeats ordinary mortar. Hydraulic cement can plug an active leak, but recurring flow means hydrostatic pressure needing a drainage solution.
- Holes with cracked or displaced concrete around them: if the wall is moving, patching without addressing the movement wastes the effort.
When the wall itself is the problem, you need structural wall work instead of patching. Our wall repair services cover holes that are symptoms of bowing, leaning, or failing walls.
Picking Your Material: Hydraulic Cement, Patching Mortar, or Epoxy
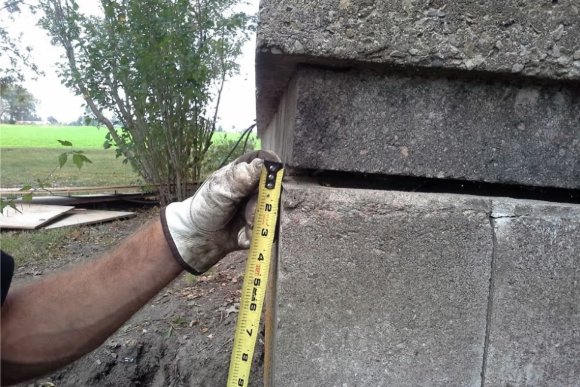
Three materials cover nearly every wall-hole repair, and each has a job it does best:
- Hydraulic cement: the go-to for foundation walls. Sets in three to five minutes even underwater, expands slightly to lock tight, and stops active leaks. Mix small batches and work fast — it waits for no one.
- Patching mortar (polymer-modified): better for larger, dry patches where you want working time. Polymers improve bond and cut shrinkage. Build deep holes in layers under two inches, letting each firm up first.
- Epoxy patching compounds: strongest bond, excellent for structural patching, but fussier to mix and most hate wet surfaces. Worth it for critical repairs; overkill for a form-tie hole.
What not to use: regular bagged concrete mix for anything structural — its shrinkage gap is a future leak — and spray foam or caulk as more than a temporary stopgap. Foam keeps bugs out for a season; it does not repair concrete.
| Material | Best For | Set Time | Typical Cost |
|---|---|---|---|
| Hydraulic cement | Small holes, active leaks, damp walls | 3–5 minutes | $10–$25 per bucket |
| Polymer-modified patching mortar | Medium holes, dry walls | 30–60 minutes working time | $15–$35 per bag |
| Epoxy patching compound | Structural patches, maximum bond | Varies by product | $25–$60 per kit |
Step by Step: Patching a Small Hole in a Concrete Foundation Wall
The full process for a typical small hole — an old form-tie opening or pop-out under two inches. Budget an afternoon:
- Step 1 — Prep the hole: chip out loose concrete until every edge is solid. Undercut the sides — wider at the back — so the patch wedges in.
- Step 2 — Clean it out: wire-brush the interior, then blow or rinse out all dust. Bond needs clean concrete; dust is a bond-breaker.
- Step 3 — Dampen (do not soak): mist the hole so dry concrete does not suck moisture from the patch. Damp surface, no standing water.
- Step 4 — Mix small: hydraulic cement sets fast, so mix only what you can place in minutes — a baseball-sized batch at a time. Follow the bag ratio; soupy mix is weak mix.
- Step 5 — Pack it tight: force the material in with a margin trowel, pressing hard to eliminate air pockets. For holes deeper than two inches, fill in layers, letting each stiffen first.
- Step 6 — Finish flush: strike the surface level with the wall. Do not overwork it — a couple of clean passes, then leave it alone.
- Step 7 — Cure it: keep the patch damp for 24 to 48 hours (a misted plastic sheet works). Full strength develops over several days.
Wear gloves and eye protection — hydraulic cement is caustic before it cures — plus a dust mask while chipping. For block rather than poured walls, see our guide to cinder block foundation wall repair.
When the Hole Is Too Big for DIY
Call a professional when the hole is wider than six inches, through the full wall, in a bowing wall, or still leaking after patching. Large repairs need formwork, consolidation, and sometimes rebar dowels — concrete work, not patching.
Also call when the hole is a symptom: stair-step cracking around it, a shifted wall section, or widespread spalling point to structural movement or chronic water pressure. Patching without fixing the cause is cosmetic, and a good contractor says so upfront.
Professional wall repair runs $3,000 to $10,000 depending on wall length and system — anchors, bracing, or rebuilds. Weigh that against interior water damage from a big hole leaking through rainy season; the pro route usually wins on math. Our overview of bowing basement wall repair options explains the structural systems.
The Shreveport Moisture Angle: Waterproof After You Patch
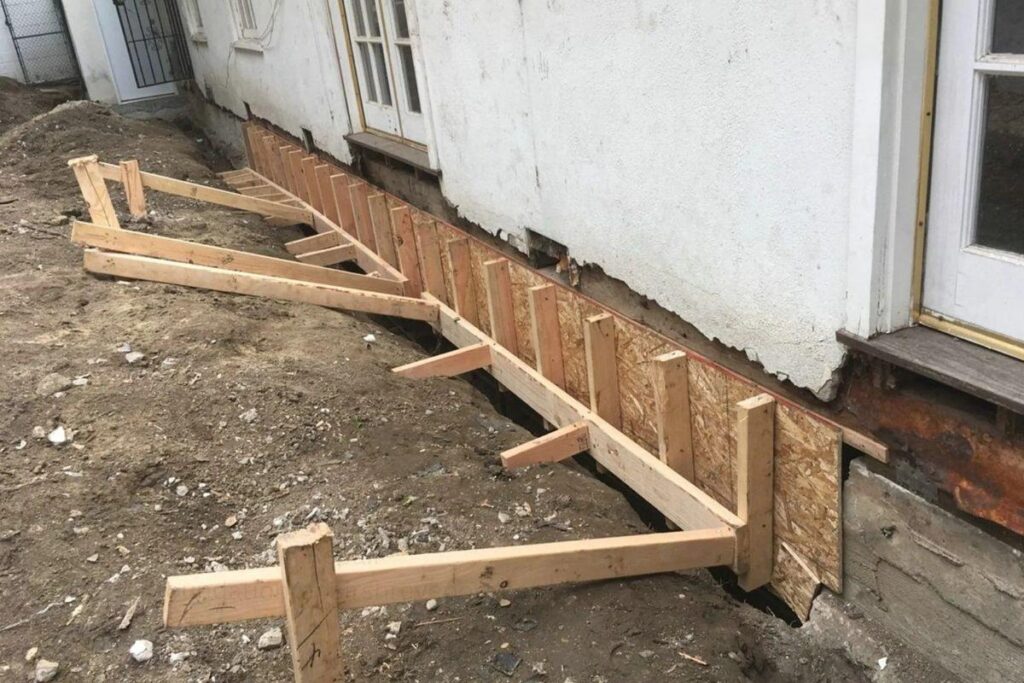
Most patching guides skip this: in northwest Louisiana, the patch is only half the job. Wet springs, tropical downpours, and high water tables keep foundation walls wet for months. A perfect patch in a saturated wall eventually faces pressure it was never designed to hold.
After the patch cures, protect it. Inside, a masonry waterproofing coating adds defense. Outside — the side that matters most — grading must slope away, downspouts must discharge past the foundation, and gutters must not overflow onto the wall. Where water collects with nowhere to go, a French drain or exterior membrane is the answer, not a thicker patch.
Persistent dampness feeds mold — the EPA’s mold guidance ties it directly to moisture intrusion through foundations. If the wall stays damp no matter what you do outside, get a professional look: chronic hydrostatic pressure sometimes needs an interior drain system, and catching it early beats remediating mold later.
Preventing the Next Hole
A patched wall stays patched when the original conditions do not repeat. Walk your foundation walls twice a year and watch for early warnings: rust staining from corroding form ties, small spalls, efflorescence (the white mineral crust signaling water moving through concrete), and new damp spots after heavy rain.
The maintenance habits that prevent most wall damage are unglamorous but effective:
- Keep water away: clean gutters, extended downspouts, soil sloping away. This one habit prevents more foundation trouble than any other.
- Seal penetrations: keep sealant intact where pipes and conduits pass through. These are the most common leak points.
- Do not pile soil against the wall: flower beds above the original grade trap moisture against concrete and accelerate deterioration.
- Address small spalls early: a quarter-sized flake patched now never becomes a six-inch hole later.
If your walk-around turns up anything bigger than a DIY patch — or a moving wall — start with a free inspection from Pelican Foundation Repair, Monday through Saturday, 8:00 AM to 6:00 PM. Elevation readings and a written report tell you whether it is maintenance or structural work.
Frequently Asked Questions
How do you repair a hole in a concrete foundation wall?
For small holes, chip out loose material, undercut the edges, clean and dampen the hole, then pack in hydraulic cement or patching mortar in layers. Finish flush and keep it damp while curing. Holes over six inches, through-wall holes, or active water pressure need a pro.
Can I use regular concrete mix to patch a foundation wall hole?
It is not recommended. Regular concrete mix shrinks as it cures, leaving a hairline gap water will find. Hydraulic cement or polymer-modified patching mortar bonds better, shrinks less, and sets even on wet surfaces.
What is hydraulic cement, and when should I use it?
Hydraulic cement is a fast-setting cement that expands slightly as it cures and hardens even underwater — ideal for patching foundation walls, especially damp ones. Mix small batches; it sets in three to five minutes.
How big is too big for a DIY concrete wall patch?
Most homeowners should stop around six inches wide. Beyond that — or any hole through the full wall — the repair needs formwork, consolidation, and sometimes reinforcement: professional concrete work. A hole that big may signal structural trouble worth diagnosing.
Will a patched hole in my foundation wall leak again?
Not if prep was thorough, the right material was used, and the water source is managed. Patches fail over crumbly concrete, with the wrong material, or under unmanaged hydrostatic pressure. Fix drainage alongside the patch and it holds.
Can a hole in my foundation wall let termites in?
Yes — and in Louisiana that matters. Subterranean termites need only a tiny opening to reach wood framing, and wall holes are classic entry points. Patching holes and sealing penetrations is legitimate termite prevention.
How long does hydraulic cement take to dry?
It sets in three to five minutes — hence small batches. Keep the patch damp for 24 to 48 hours and give it several days to reach full strength before painting or sealing.
Does patching a foundation wall need a permit in Shreveport?
Small cosmetic patches do not. Structural wall repairs often do, and rules vary between Shreveport, Bossier City, and the parishes. Check with the local permit office before structural work.
Pelican Foundation Repair
6118 Fairfield Ave, Shreveport, LA 71106, USA
318-585-2003
https://foundationrepairshreveport.com/